If your home was built before 1990, there’s a good chance you’re living under a popcorn ceiling right now. You know the one — bumpy, textured, looks like someone pressed cottage cheese into your ceiling back in 1978 and called it a day.
It was practical at the time. Builders loved it because it hid drywall imperfections quickly and cheaply. Sound dampening was another selling point. But in 2026, it’s one of the first things buyers notice — and not in a good way. More importantly, it’s one of the first things homeowners want gone when they’re tired of a home that feels permanently stuck in a past decade.
At Golden Star Painting, our popcorn and stucco ceiling removal team works across Brampton, Mississauga, Toronto, and the rest of the GTA. We’ve removed hundreds of these ceilings. This article covers everything honestly — the real cost, the actual process, the asbestos question, and what your ceiling will look like when it’s done.
Why GTA Homeowners Are Removing Popcorn Ceilings Now
The renovation boom in the GTA over the last few years brought popcorn ceiling removal right to the top of the list — and for good reason.
A smooth ceiling changes the feel of an entire room. It reflects light better, which makes spaces feel larger and brighter without touching a single wall or buying a new light fixture. It photographs dramatically better, which matters if you’re planning to sell. And it simply looks like a home that’s been maintained and updated, not one that hasn’t been touched in 40 years.
Many homeowners also choose to remove their popcorn ceilings before repainting — which makes sense. There’s no point in putting a fresh coat of interior paint on a room and leaving a dated, bumpy ceiling overhead. The two upgrades together completely transform a space.
The Asbestos Question — Answer This First
Before anything else, you need to know when your home was built.
Popcorn ceiling texture applied before the mid-1980s in Canada sometimes contained asbestos — a fibrous material that was commonly used in construction at the time for its fire resistance and durability. In 1986, Canada significantly restricted its use in residential applications. Homes built after that period are very unlikely to have asbestos in the ceiling texture.
If your home was built before 1986: Get a professional asbestos test before any removal work begins. This is not optional — disturbing asbestos without proper precautions is a serious health risk, and professional abatement is required by Ontario law if asbestos is found. Testing typically costs between $150 and $300 for a standard residential sample.
If your home was built after 1986: Asbestos in the ceiling texture is very unlikely. A standard popcorn removal job can proceed without testing, though any reputable contractor will confirm this with you upfront before starting work.
At Golden Star Painting, we assess this on every job before we quote. If asbestos testing is needed, we let you know directly and help coordinate the process.
What Popcorn Ceiling Removal Actually Involves
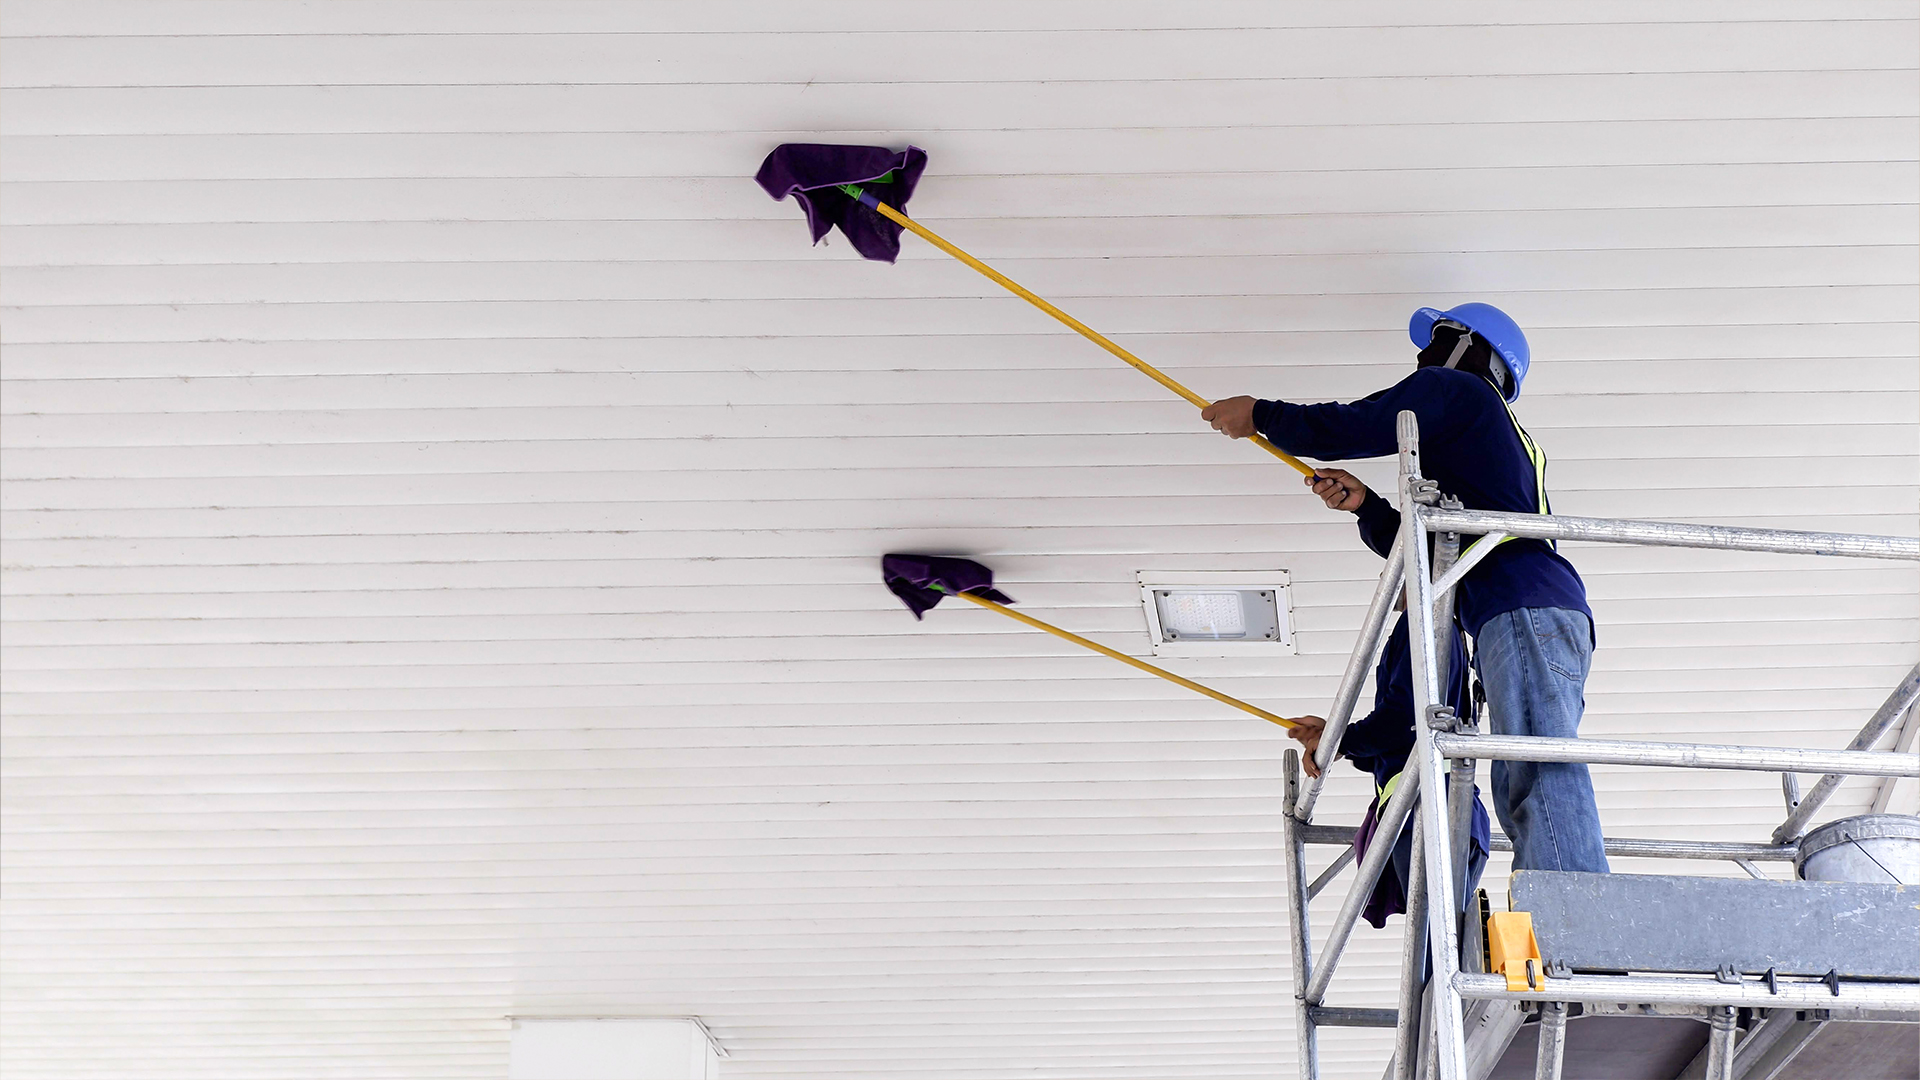
This is a messier job than most homeowners expect — which is one of the main reasons it’s worth hiring professionals rather than attempting it as a weekend project.
Here’s what the full process looks like when our team handles it:
Step 1 — Full room protection. Before anything is scraped, the room is completely covered. Floors, walls, doorways, and any furniture that can’t be moved are wrapped and sealed with plastic sheeting. Popcorn ceiling removal creates a significant amount of fine dust and debris. Proper containment is what separates a clean job from a disaster.
Step 2 — Surface wetting. The ceiling texture is lightly misted with water to soften the compound. This makes scraping easier, reduces airborne dust, and minimises the risk of gouging the drywall underneath. The amount of water matters — too little and the texture won’t release cleanly, too much and you risk damaging the drywall board itself.
Step 3 — Scraping. The softened texture is scraped off using wide drywall blades. This requires patience and a steady hand. The goal is to remove the texture without cutting into the drywall paper beneath it, because any damage to the paper face means additional repairs are needed before a smooth finish is achievable.
Step 4 — Drywall repair and skim coating. Once the texture is removed, the ceiling is inspected for damage, gouges, old paint buildup, or cracks. Any problem areas are filled and repaired. Our team handles drywall repair and fixing as part of this process, so you’re not left with a smooth ceiling that has visible patches and dips. A skim coat is then applied across the entire surface to achieve a flat, even finish.
Step 5 — Sanding and priming. Once the skim coat dries, it’s sanded smooth using a pole sander. The entire ceiling is then primed before painting — skipping this step leads to blotchy paint absorption and an uneven final result.
Step 6 — Ceiling painting. Two coats of premium ceiling paint are applied with a spray or roller, giving you a clean, bright, factory-smooth ceiling. At this stage, the room looks like a completely different space.
Step 7 — Cleanup. All plastic sheeting is removed, dust is cleaned up, and the room is left ready to use.
Real Cost of Popcorn Ceiling Removal in the GTA — 2026
Here’s what homeowners across Brampton, Mississauga, Toronto, and the surrounding GTA are paying for professional popcorn ceiling removal in 2026. These figures include removal, skim coating, sanding, priming, and a final coat of ceiling paint:
Project Size | Estimated Cost (CAD) |
Single room (standard bedroom) | $1,600 – $2,200 |
Living room or dining room | $2,000 – $3,200 |
Main floor of a 1,500 sq ft home | $3,500 – $5,500 |
Full home, two floors (1,500 sq ft) | $6,500 – $10,000 |
Condo or apartment (700–900 sq ft) | $2,800 – $4,500 |
What affects the price:
- Ceiling height. Standard 8 or 9-foot ceilings are straightforward. Anything higher — like a two-storey entrance or vaulted living room — requires scaffolding, which adds labour time and cost.
- Painted vs. unpainted texture. Unpainted popcorn texture absorbs water and releases cleanly. Painted texture is sealed, which makes it significantly harder to remove and often increases the labour time by 30 to 50 percent.
- Condition of the drywall underneath. If the original drywalling was done poorly or if there’s been water damage, more skim coat work is required to achieve a flat finish.
- Number of rooms. Doing multiple rooms in one visit reduces the per-room cost because setup, travel, and protection time is shared across the project.
Is It Worth It?
The most direct answer: in most GTA homes, yes.
A smooth ceiling immediately modernises a space without touching the floors, walls, or furniture. In rooms with good natural light — especially living rooms and open-plan main floors — the difference is striking. The same space simply looks larger, cleaner, and more expensive.
From a resale standpoint, smooth ceilings are increasingly expected by buyers in the GTA market. Homes with original popcorn texture in common areas tend to feel dated during showings, and buyers factor that into their offers. Removing the texture before listing — particularly in the main living areas — is one of the more cost-effective pre-sale renovations available.
Paired with a fresh interior paint throughout, the combined result is one of the highest-impact transformations available without structural renovation.
Get a Free Estimate for Popcorn Ceiling Removal Across the GTA
Every home is different. The fastest way to know exactly what your project will cost is to have our team take a look in person — and that visit is completely free.
We’ll assess the ceiling condition, check for any concerns, confirm whether testing is needed for older homes, and give you a clear, itemised quote with no hidden fees.